
Few things are more frustrating in astrophotography than thinking you nailed a shot, only to zoom in and find blurry, streaked stars. You spent all that time scouting a dark sky location, adjusting your settings, and patiently shooting… but your stars look like smudges instead of sparkling dots. That’s where the 500 rule can help.
The 500 rule is one of the easiest and most useful guidelines in night sky photography. It helps you figure out how long you can expose your photo without getting star trails. If you’re new to photographing the stars and the Milky Way, mastering this rule is a great first step toward getting sharp, stunning results.
In this article, I’ll explain what the 500 rule is, how to use it, its limitations, and how to adapt it for crop sensor cameras. I’ll also give you real-world examples, suggest a few tools to make life easier, and answer common questions. Let’s get into it!
Table of Contents
- What Is the 500 Rule?
- Why the 500 Rule Matters in Astrophotography
- The Basic 500 Rule Formula Explained
- Limitations of the 500 Rule
- Adapting the 500 Rule for Crop Sensor Cameras
- Real-World Examples of the 500 Rule
- Alternatives and Tools to the 500 Rule
- Final Tips for Sharp Stars
- FAQ
What Is the 500 Rule?

Photo by Standret via Shutterstock
The 500 rule is a simple formula used to calculate the maximum shutter speed you can use before stars begin to trail in your photos. It’s one of the most talked-about techniques in astrophotography because it’s fast, easy, and doesn’t require any special gear.
Basically, the Earth rotates. So, even though the stars appear still to our eyes, they’re actually moving across the sky. When you take long exposures at night, this motion shows up as blurry stars or small trails. The 500 rule helps you avoid this by giving you a shutter speed that keeps your stars looking sharp and round.
It’s especially helpful if you’re shooting with a DSLR or mirrorless camera on a regular tripod without a tracking mount. No fancy equipment needed, just your camera, lens, and some basic math.
Why the 500 Rule Matters in Astrophotography

Photo by Steve Allen via Shutterstock
The 500 rule is all about getting clean, crisp star points. When your exposure is too long, the stars turn into little lines instead of dots (as shown above). That might look cool for a star trail photo, but not if you’re going for a detailed Milky Way shot.
Sharp stars make your photos look professional, even if you’re new to the hobby. They give the image more clarity and help reveal detail in the night sky. Using the 500 rule can also save you time in post-processing. It’s easier to edit and enhance a photo that starts out sharp.
If you’re just starting out, the 500 rule gives you a reliable foundation. You won’t have to guess at settings or waste time troubleshooting star trails. You’ll know exactly how long you can expose the shot without introducing unwanted blur.
The Basic 500 Rule Formula Explained
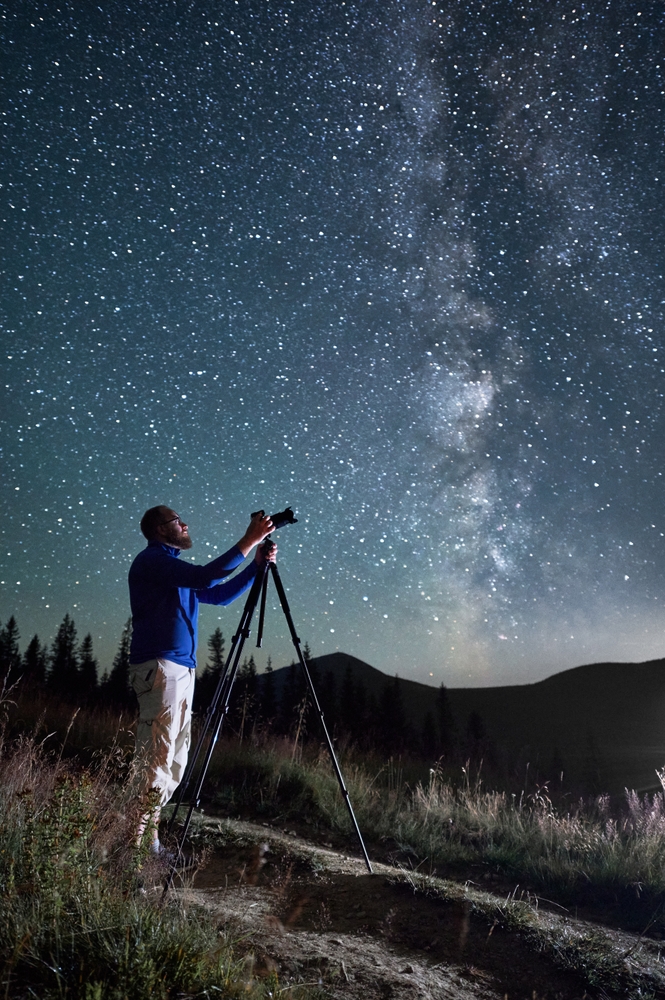
Photo by anatoliy_gleb via Shutterstock
The formula is simple:
500 ÷ focal length = maximum shutter speed (in seconds)
For example, if you’re using a 24mm lens on a full-frame camera:
500 ÷ 24 = 20.8 seconds
This means you can shoot for about 20 seconds before stars start to trail. Some photographers round down slightly to be safe, especially if they plan to crop or print large. So you might try 18 or 20 seconds in that case.
Using the 500 rule this way gives you a fast starting point in the field. It works best with wide-angle lenses since longer lenses tend to show movement faster. Try it out with lenses between 14mm and 35mm for the best results.
Limitations of the 500 Rule
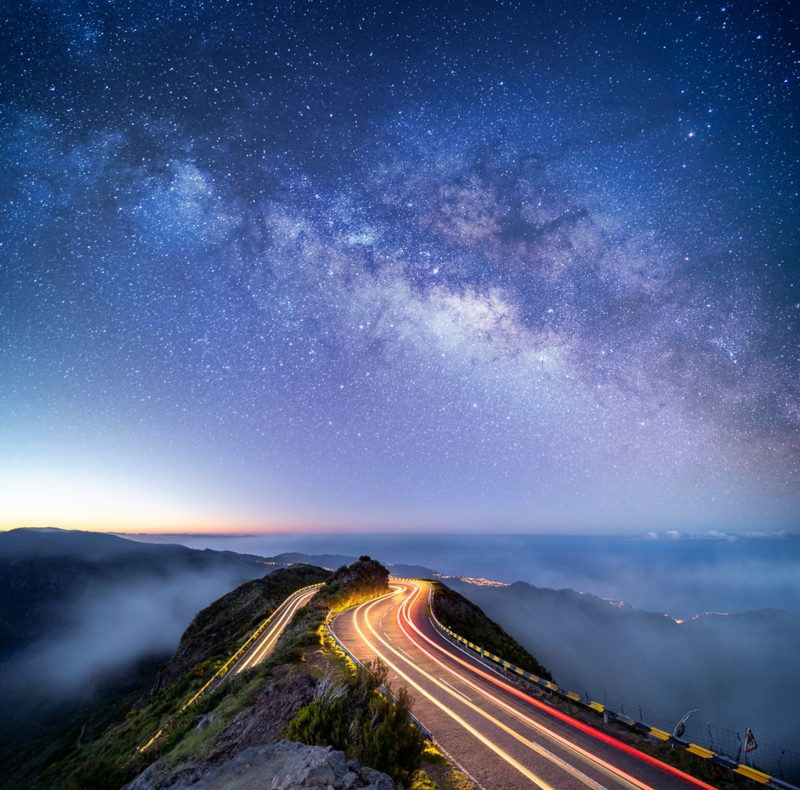
Photo by Donaldb via Shutterstock
While the 500 rule is useful, it’s not perfect. It was developed during the film photography era, and modern high-resolution sensors can make even small amounts of blur more noticeable. So, you might still see a little trailing even if you stick to the rule exactly.
The rule also doesn’t account for pixel size or sensor resolution. If you’re using a 45MP or 60MP camera, your image may reveal more motion blur than a 20MP sensor would under the same settings.
Another thing to keep in mind is lens sharpness. Some lenses aren’t sharp wide open, and that can affect the appearance of your stars too. If your stars look blurry, don’t automatically blame the shutter speed. It could be the lens or focus.
Still, the 500 rule gives you a solid place to begin, especially if you’re just starting out in astrophotography.
Adapting the 500 Rule for Crop Sensor Cameras
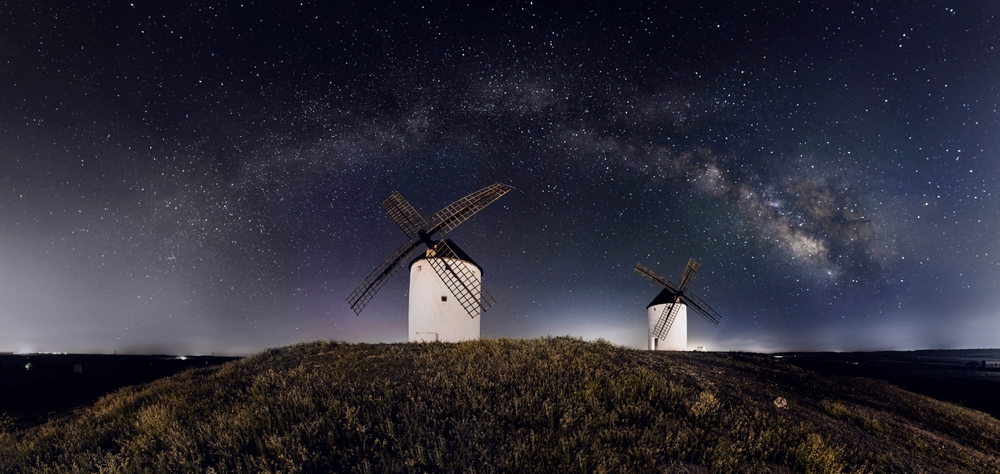
Photo by Javier Andujar via Shutterstock
If you’re using a crop sensor camera (APS-C or Micro Four Thirds), you’ll need to adjust the formula to account for your camera’s crop factor. For APS-C, the crop factor is usually 1.5. For Micro Four Thirds, it’s 2.0.
Use this adjusted formula:
500 ÷ (focal length × crop factor) = max shutter speed
Let’s say you have a 35mm lens on an APS-C camera:
500 ÷ (35 × 1.5) = 9.5 seconds
This means you should shoot for about 9 seconds to keep your stars sharp. Many beginners don’t realize the crop factor affects the 500 rule, but it makes a big difference in image sharpness. Be sure to use the correct version for your gear.
Real-World Examples of the 500 Rule

Photo by Prystai via Shutterstock
Here are a few examples to show how the 500 rule works in different scenarios:
Example 1: Shooting the Milky Way with a 14mm lens on a full-frame camera.
500 ÷ 14 = ~35 seconds. Try 30 seconds to stay safe and avoid overexposure at higher ISOs.
Example 2: Using a 24mm lens on a crop sensor (1.5x).
500 ÷ (24 × 1.5) = ~13.8 seconds. Round down to 13 seconds to be safe.
Example 3: A 50mm lens on a full-frame camera.
500 ÷ 50 = 10 seconds. That’s not much time, which is why telephoto lenses aren’t usually great for wide-field astrophotography without a tracker.
In all these cases, use a wide aperture and high ISO (e.g., f/2.8, ISO 3200), and check your histogram and sharpness before moving on.
Keep Reading: Easy Astrophotography Tips for Beginners
Alternatives and Tools to the 500 Rule

Photo by Jamo Images via Shutterstock
Some photographers prefer more accurate formulas like the NPF rule, which takes into account sensor size, pixel pitch, and aperture. It’s more complex but can give better results. Tools like Photopills have built-in NPF calculators to make this easier.
If you’re serious about capturing deep sky objects, you might eventually want to invest in a star tracker. This device moves with the rotation of the Earth, allowing much longer exposures without trailing. But for beginners, the 500 rule is usually enough.
Other helpful tools include intervalometers, remote shutters, and phone apps that help you plan your shoots and calculate exposure times. These tools don’t replace the 500 rule, but they can complement it.
Final Tips for Sharp Stars

Photo by Gambarini Gianandrea via Shutterstock
Here are a few extra pointers to help you get the most out of the 500 rule:
Use manual focus and magnify your live view screen to focus on a bright star. Autofocus won’t work in the dark. Set your lens to its widest aperture, but be aware some lenses are soft wide open. Try stopping down slightly if needed.
Use a 2-second timer or remote shutter release to avoid camera shake. Even tiny vibrations can soften your stars. Always take test shots and zoom in to check for blur before you move on to the next composition.
And finally, remember that no rule is perfect. The 500 rule is a guide, not a law. With practice, you’ll learn when to push it and when to pull back for sharper images.
FAQ
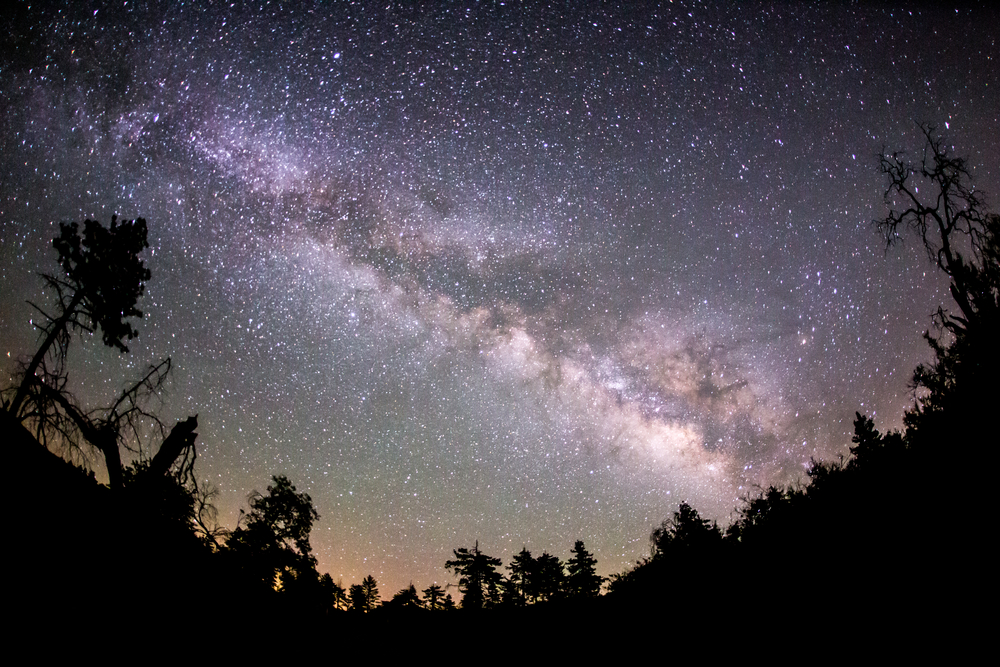
Photo by Kevin Key via Shutterstock
What is the 500 rule in astrophotography?
The 500 rule is a simple formula used to calculate the longest shutter speed you can use without creating visible star trails in your photo. It helps you capture sharp, pinpoint stars when shooting with a camera on a fixed tripod.
Does the 500 rule work for all cameras?
The 500 rule works best for full-frame cameras. If you’re using a crop sensor (APS-C or Micro Four Thirds), you need to factor in the crop multiplier to get an accurate exposure time.
Is the 500 rule still accurate for modern cameras?
It’s a great starting point, especially for beginners. However, high-resolution sensors may reveal minor star trailing even within the 500 rule’s limits. For more precision, try the NPF rule or use tracking mounts.
Can I use the 500 rule with zoom lenses?
Yes. Just be sure to base your calculation on the actual focal length you’re using. Keep in mind that the longer the focal length, the shorter your maximum exposure time will be to avoid star trails.
What if I want to shoot longer than the 500 rule allows?
If you want longer exposures without star trails, you’ll need to use a star tracker. It moves the camera with the Earth’s rotation, allowing you to capture more detail in the night sky without blur.
Heads up: Clicking on our affiliate links and exploring our sponsored content helps us at no extra cost to you, and we only recommend gear we’re absolutely crazy about!
Learn More:
- Light Pollution and How to Work Around It in Astrophotography
- Composition Techniques to Take Your Astrophotography to the Next Level
Hero photo by ANON MUENPROM via Shutterstock